Finger knitting is so easy a kid can do it – in fact, you may have learned how to do this in preschool like I did! If you haven’t revisited this skill since you were four, you may not know that you can create some pretty cool things around the home with finger knitting. All you need is some yarn of any weight, a little time, and two to four fingers.

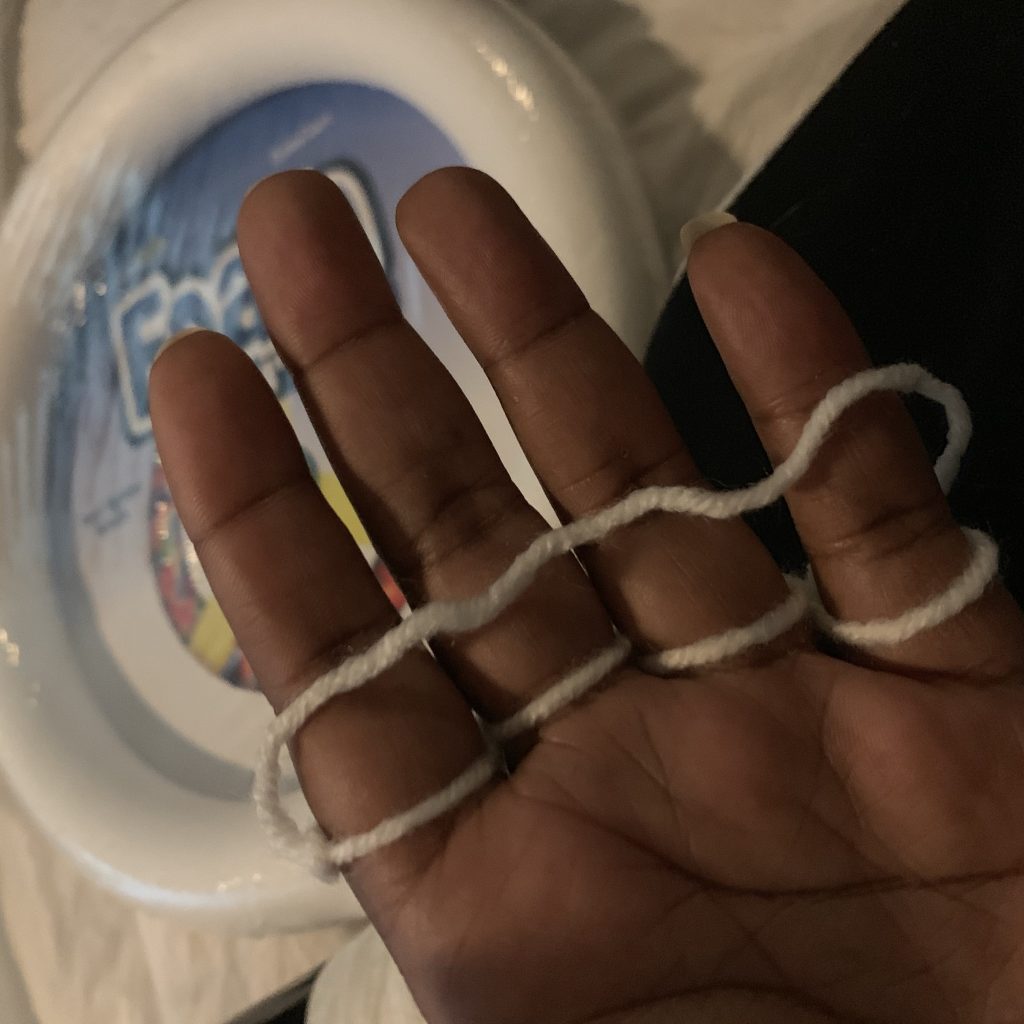
Step One: Wrap the yarn completely around your four fingers. You can attach a slip knot to the thumb if you wish.
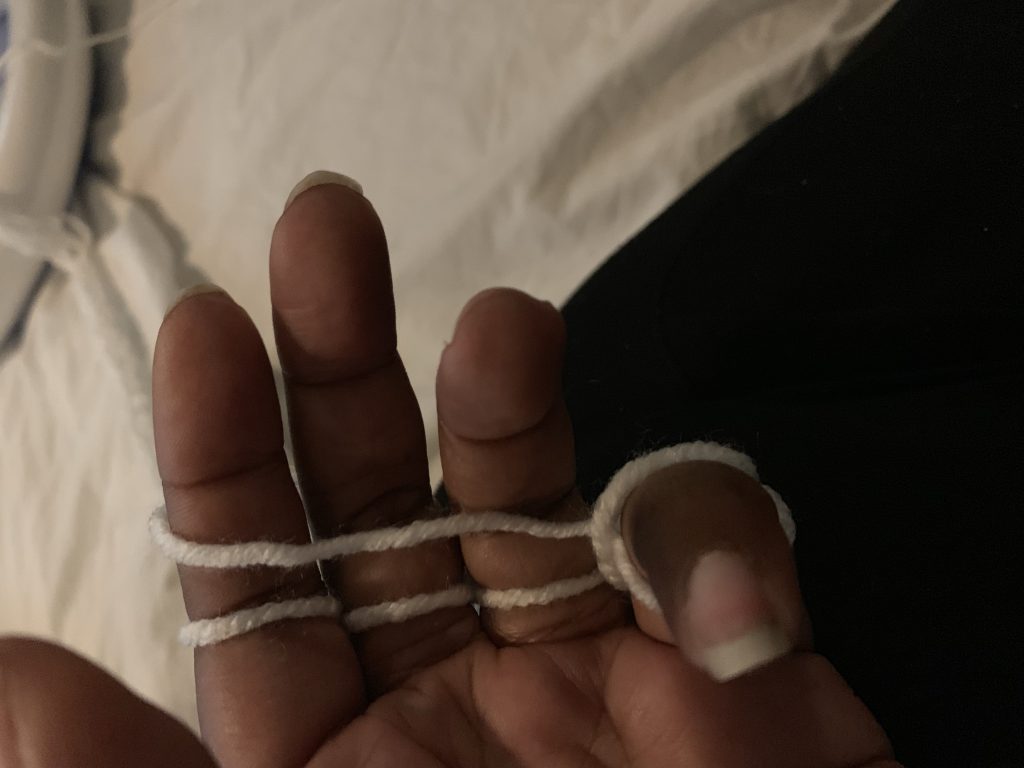
Step Two: Take the working yarn and lay it across your fingers (as seen in the above photo).

Step Three: Take each bottom loop and pass it over the working yarn and over each fingertip onto the back of your hand. (see above photo)
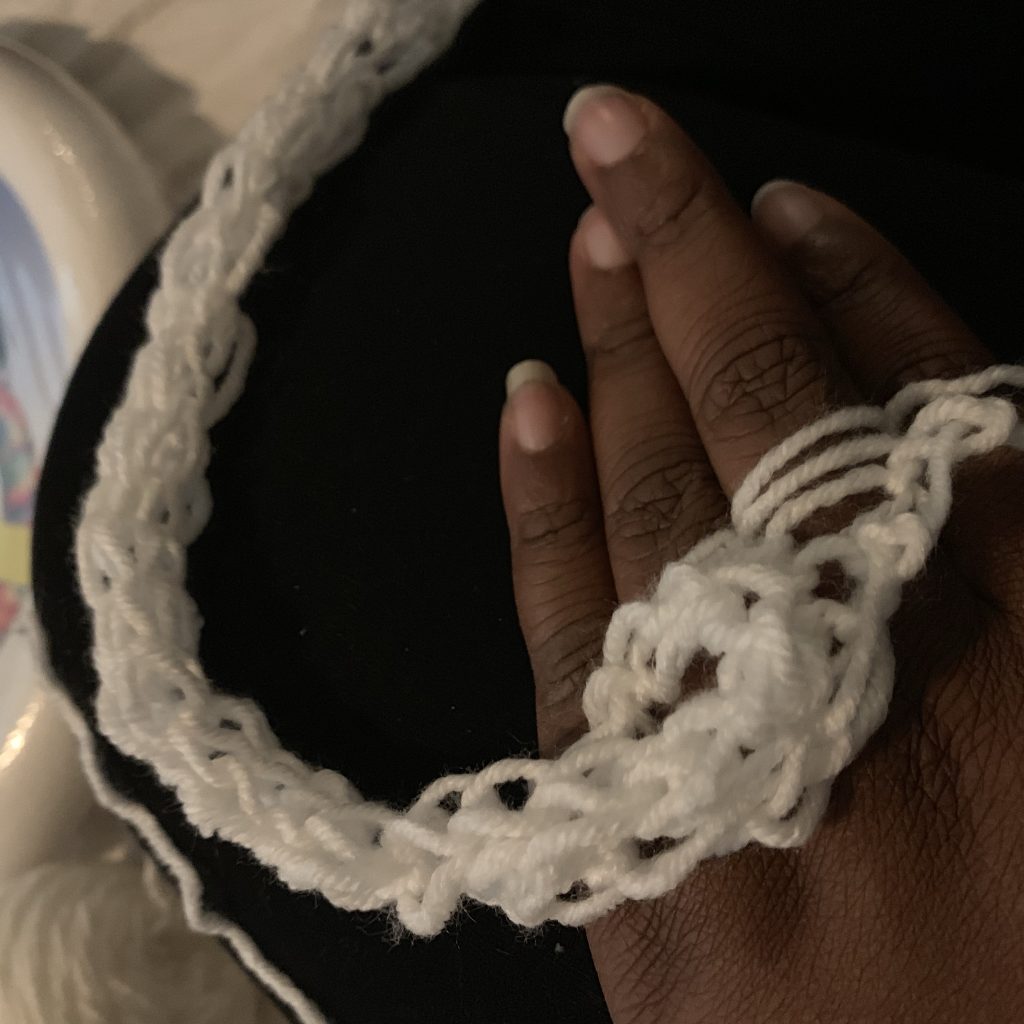
Step Four: Once you have done several rows, pull the slip knot off of your thumb and pull on the yarn to tighten the stitches. (see below photo)

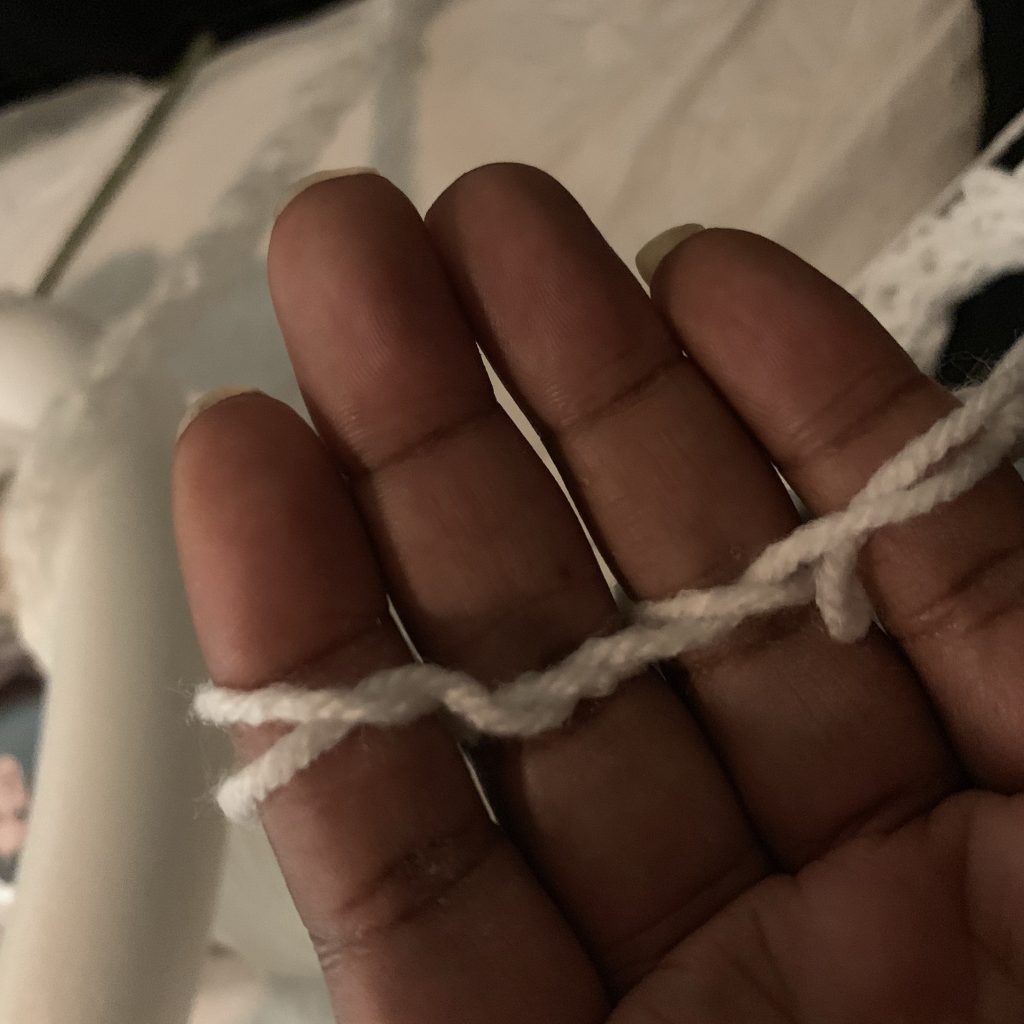
Step Five: Once you’ve knitted the desired length, bind off by cutting your working yarn, and weaving it between your working loops (see photo below).

That’s it! You’re a finger knitter now! Feel free to tell me what kind of projects you plan to use this skill for in the future!


Leave a Reply