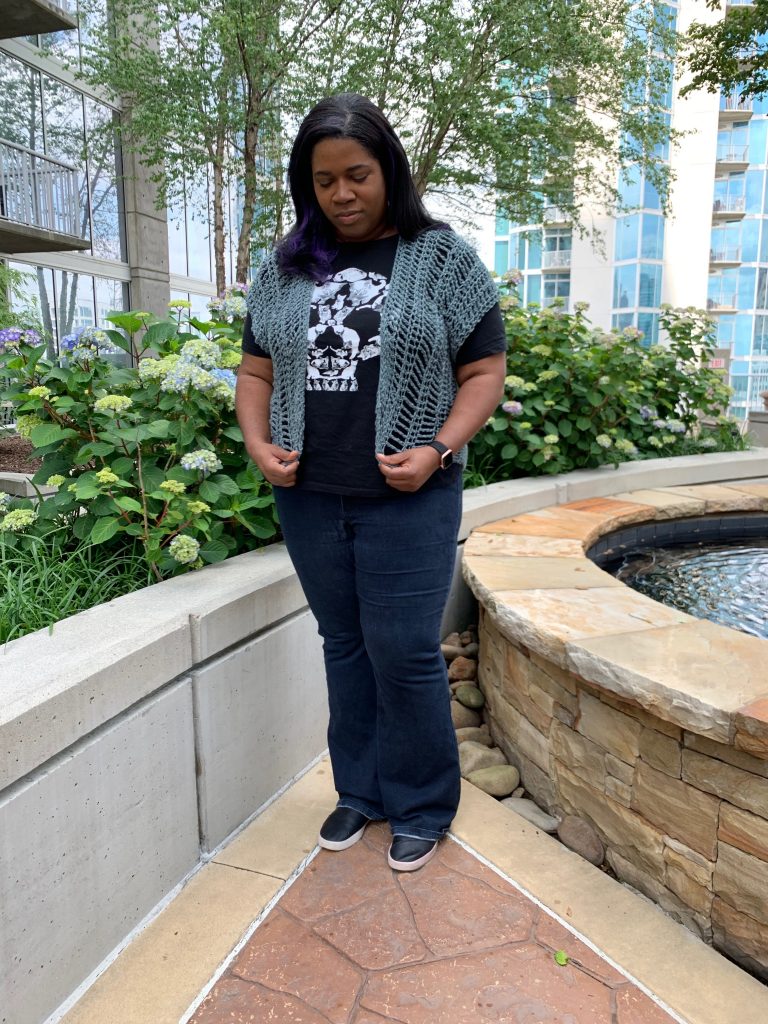
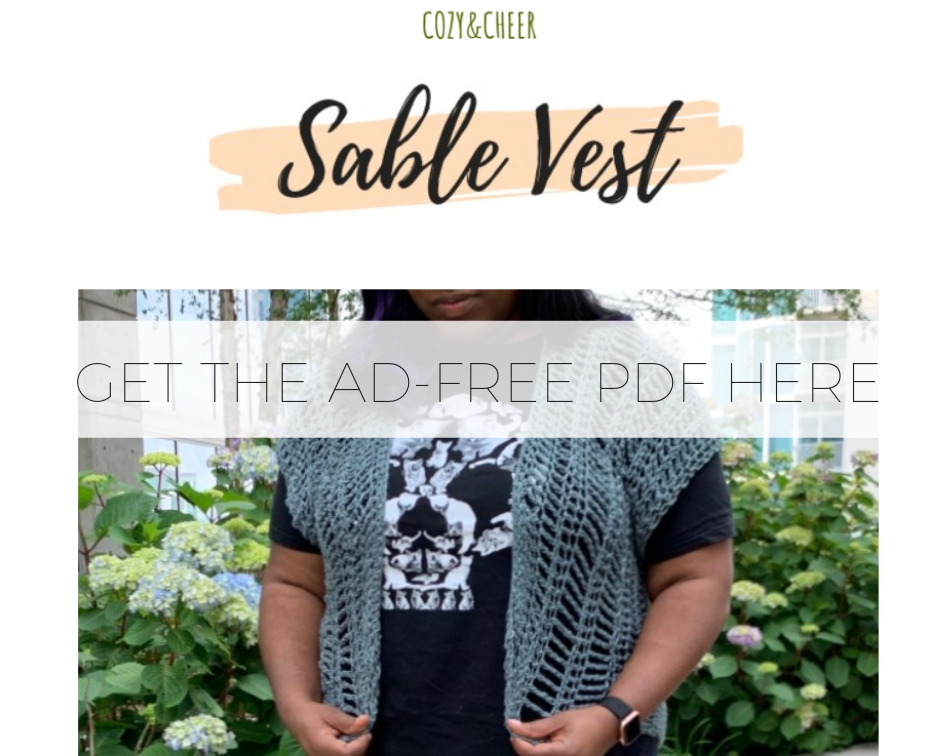
A vest that you can wear from Spring through Autumn, my first pattern – the Sable Vest – is a free pattern available on this blog!
Read my thoughts on the design process, my inspiration, and the yarn I chose (and an alternate/cheaper yarn you can use) or scroll down to get the free pattern.
The Inspiration & Design
I’ve been crocheting for a little while now, but I’ve only recently tried my hand at designing wearable items for myself and other people. This vest came about when I was looking around for a simple and easy topper to wear over a t-shirt, a swimsuit, or even a long sleeved henley during the fall. I couldn’t find anything that was light enough that provided enough coverage for me, and thus the Sable was born!
I named it Sable because it reminds me of the vests and short sleeved cardigans worn by hippies and rock groupies in the 1960’s and 70’s. Sable is a good name for a flower child, I think.
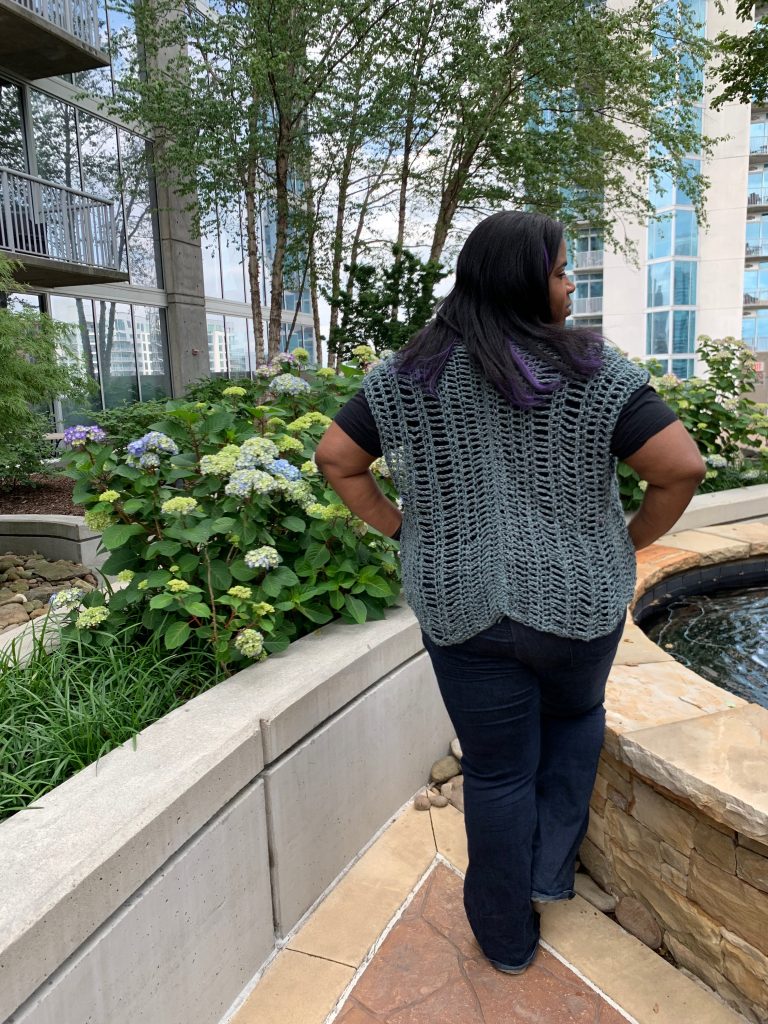
I wanted this vest to be adventurous beginner-friendly, so I made it all with very tall stitches to give it an open look. The trtr stitch is the biggest of the bunch, and it’s as fiddly as it is lanky, but it’s fun to do and goes quick once you get the hang of it.
Check out this video for a Triple Treble stitch tutorial.
Two panels sewn together in the back and on the sides make this an easy topper to make, and for smaller people – you could even stitch up the front to make it a shirt if you’d like. I love all of the customization options for this piece! It’s great for people who have trouble following patterns, because there’s so much you can do on your own to make it look a little different. It also looks great when you make it as-is.
The Yarn
I used Lion Brand’s Jeans Yarn for this project and it’s what gives the vest its drape and shape. The yarn is very dense but very light, so it feels like you have hardly anything on, but still can protect you from a strong breeze when it whips up! You can get Jeans yarn on the Lion Brand website or at Michael’s stores.
Another good option is the Caron One Pound yarn, which is what I used to make my first prototype vest. It was just $6.50 for a massive skein at a big box store, and that one skein was more than enough to make one vest (I could probably make two from it). The 100% acrylic yarn doesn’t have the dreamy drape that the LB yarn has, and it feels a little rougher on the skin, but it’s a good budget option, and one that many crafters have in their stash already!
PATTERN
- Get the ad-free, size 14 font, printable PDF pattern here.
- PIN this pattern to your Pinterest boards here.
- Add this pattern to your Ravelry queue or library here.
Materials:
-Lion Brand Jeans Yarn in Vintage: 3 skeins
-Size L 8.0mm crochet hook
-Large eye tapestry needle
Gauge:
10 sts in double crochet = 4 in.
4 rows = 4 in.
Finished Vest Measurements:
ONE SIZE FITS MOST – This vest is meant to be somewhat oversized. If the measurements are too big for your liking, reduce your starting chain length by 10.
Width across back: 29”
Length: 30″
Armhole: 17″
Abbreviations (US terms):
CH – chain
DC – double crochet
TR – triple crochet
TRTR- triple treble crochet
Skill Level:
Easy
Pattern Notes:
-Model is 5’9” tall.
-Vest is made to fit oversized and a bit baggy. If you like a snug fit, reduce your starting chain by multiples of 10 and take out one of the double TR rows.
-Pattern is worked as two panels. Make both panels and then move on to the assembly section.
-Triple Treble Crochet (TRTR) is as follows: Yarn over the hook four times, insert hook into stitch, (yarn over, pull through two loops) five times.
Panel (Make 2)
CH 99
Row 1: DC in chain across, CH 3, turn.
Row 2: TR across, CH3, turn.
Row 3: TR across, CH 2, turn.
Row 4: DC across, CH 5, turn.
Row 5: TRTR across, CH 2, turn.
Row 6: DC across, CH 5, turn.
Row 7: TRTR across, CH 2, turn.
Row 8: DC across, CH 3, turn.
Row 9: TR across, CH 3, turn.
Row 10: TR across, CH 2, turn.
Row 11: DC across, break off, weave in ends.
Assembly
Step 1: Put the two panels side by side, with the foundation (chain) rows touching each other. Using your needle and yarn, whipstitch halfway up the panels. (See Photo below)
Step 2: Fold the other half of the panels down to form the vest. Turn inside out. Whipstitch halfway up each side, creating the arm holes.
Step 3: Weave in all remaining ends, turn right side out.
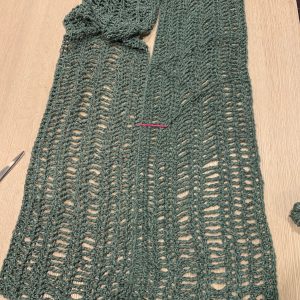
(Step One)
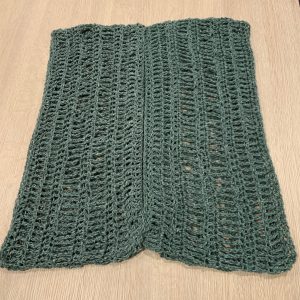
(Step Two)
Share your projects made using Cozy and Cheer patterns on Instagram with the hashtag #cozyandcheer!

Nice!