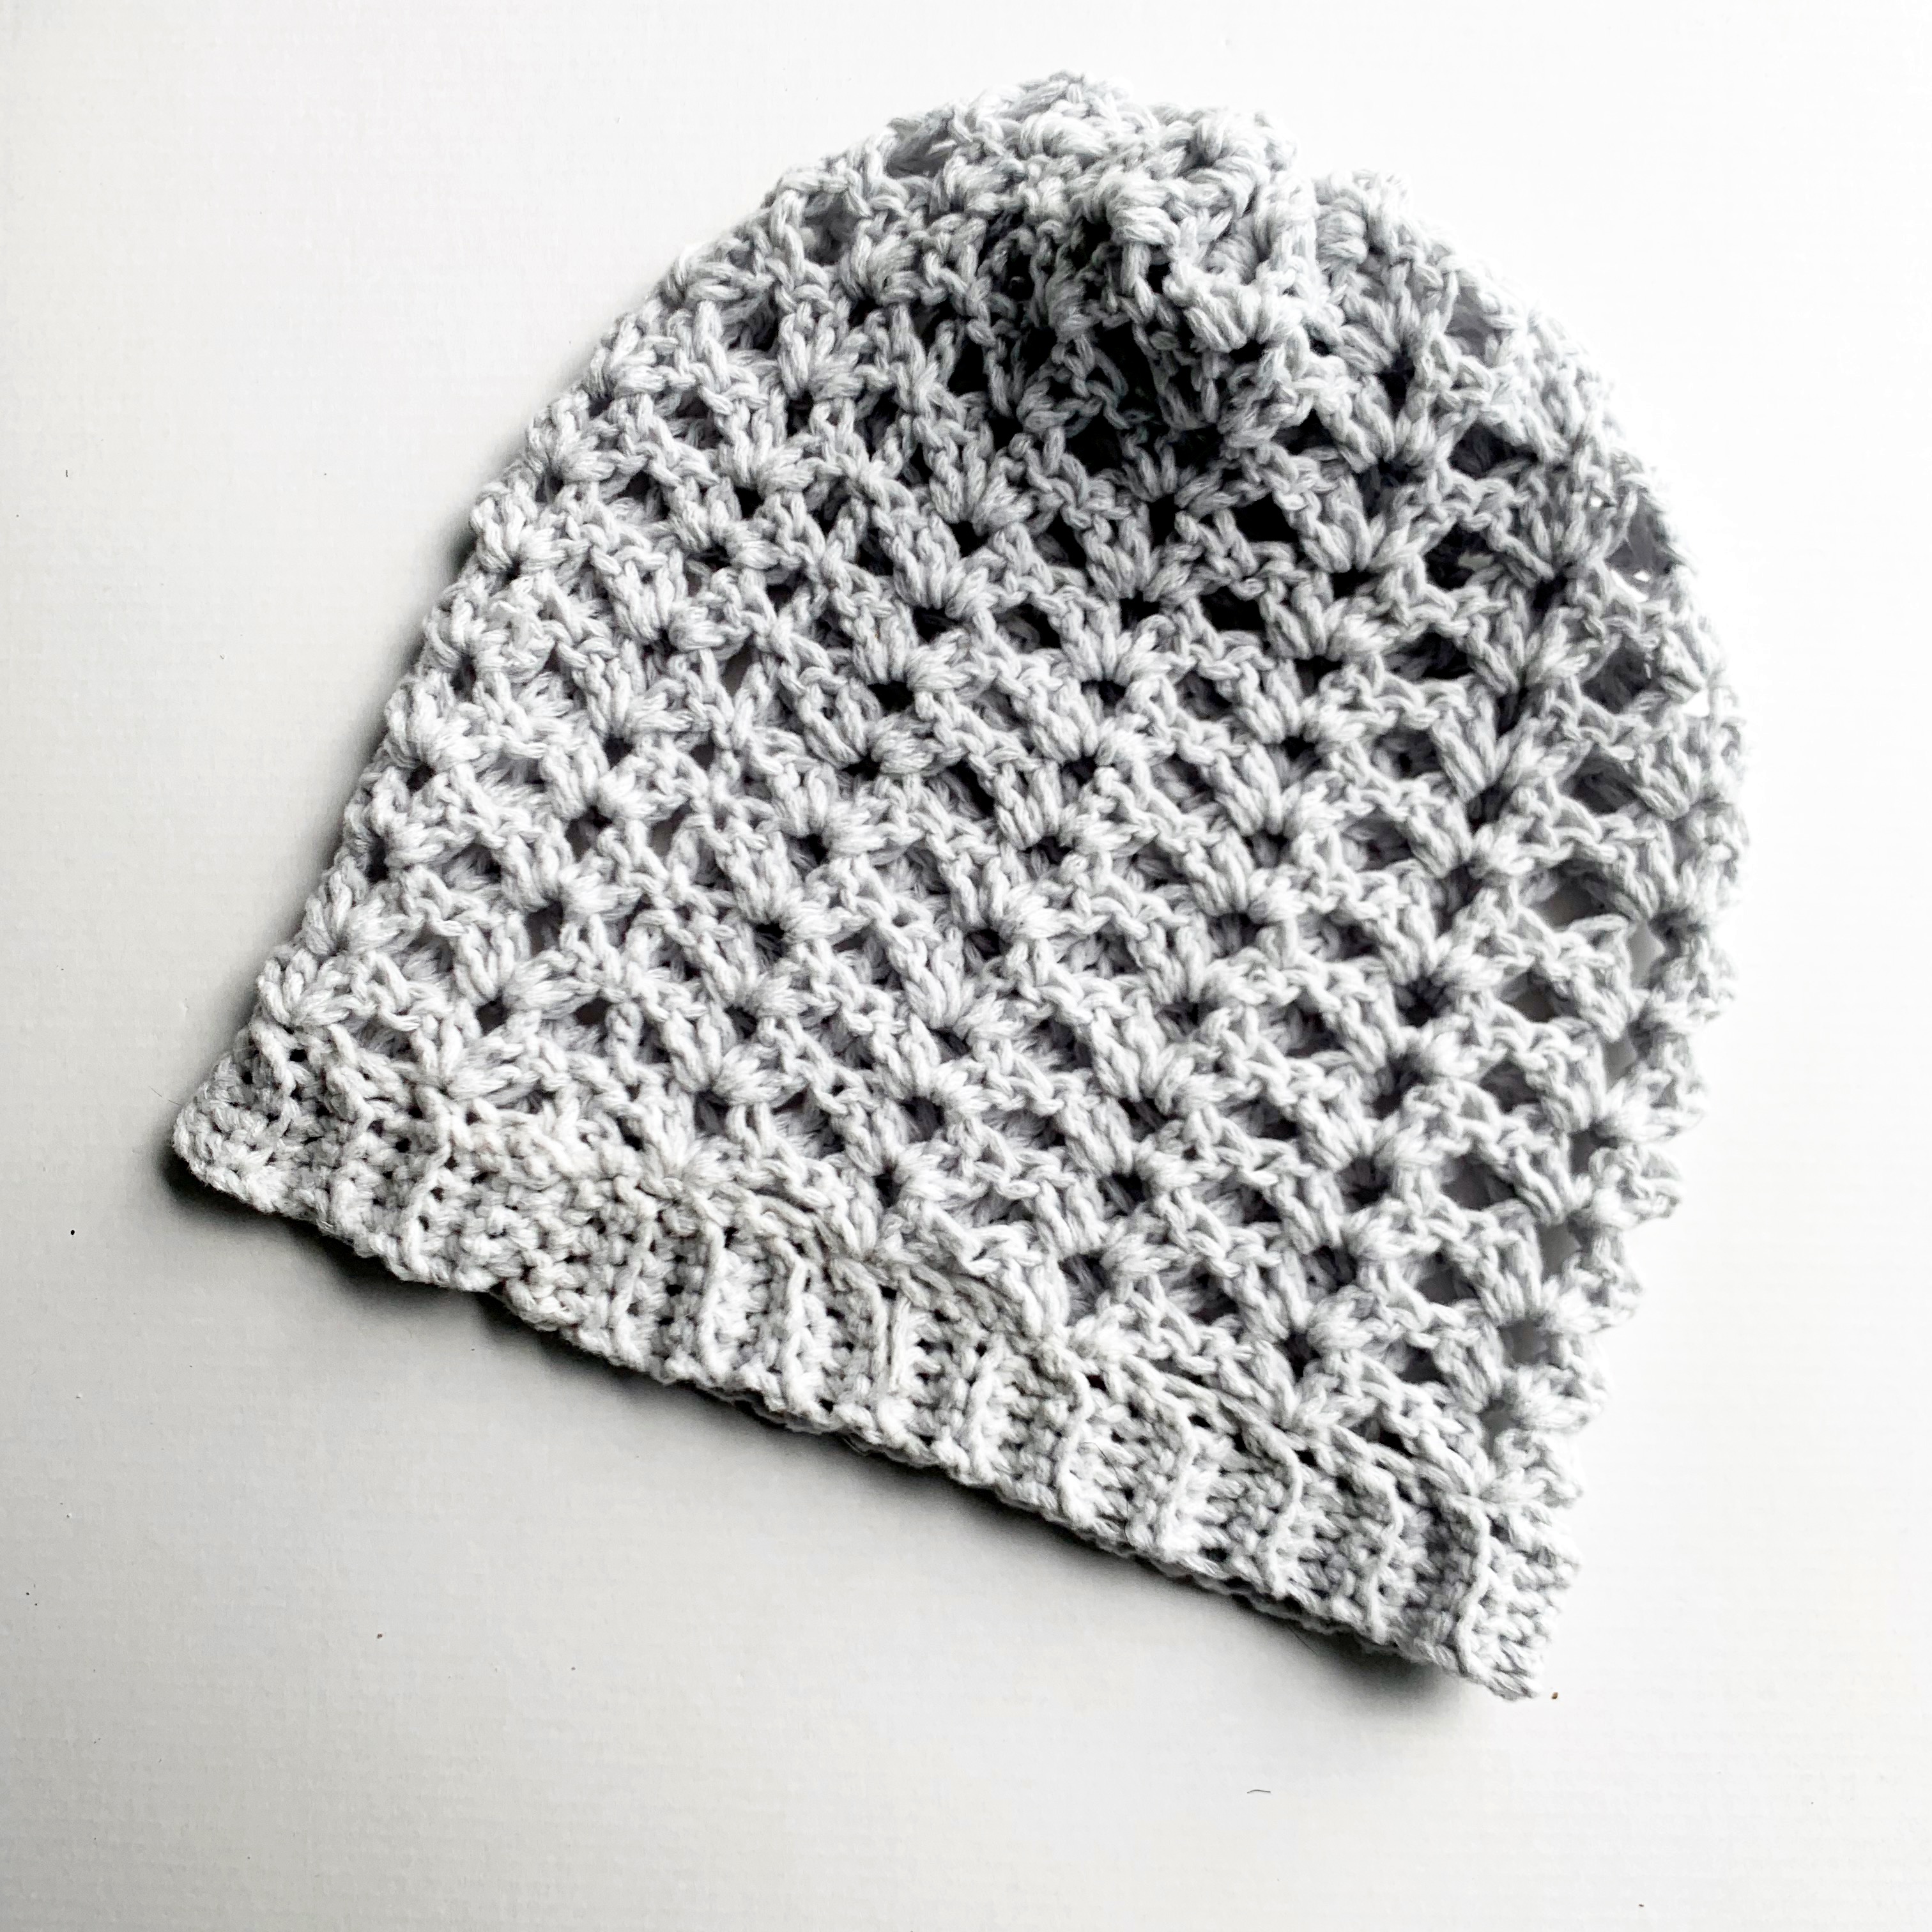
Here’s an easy beanie project that’s perfect for summer and fall markets! This hat is easy enough for an adventurous beginning crocheter and fun for anyone of any skill level. Whip up a few over the weekend!
The Inspiration & Design
I love a good beanie, but spring and summer in Georgia isn’t exactly “hat weather”. Enter the Light and Airy: it’s light-weight, has an open stitch, but still provides good bedhead coverage. It’s the perfect warm-weather head wear.
I decided to use a new-to-me stitch for this design: the fancy lace crochet stitch. It’s a cluster of four double crochets broken up by two chains. The pattern really opens up when you put the beanie on your head!

The Yarn
If you’ve been following this blog for a while, you know I like to use up all of my yarn before buying more of it. It keeps my stash under control and it keeps me honest with myself (“Do I *really* need more yarn? Yes? …no.”) I decided to use more of the Feels Like Butta yarn that I used for the Erschelle Summer Scarf. The yarn comes in a robust 590 yards skein, and this hat used just 122 yards, so it’s a good scrap yarn project. FLB is soft and squishy, but provides enough stitch definition to make this particular pattern shine. Get it if you can find it near you! (Note: I’ve found that it’s cheaper on Amazon ($4.99) than it is at my local craft store.)
Disclosure: This post may contain affiliate links that earn me a small commission, at no additional cost to you. I only recommend products I personally use and love, or think my readers will find useful.
PATTERN
- Get the ad-free, size 14 font, printable PDF pattern here.
- PIN this pattern to your Pinterest boards here.
- Add this pattern to your Ravelry queue or library here.
Materials:
-Lion Brand Feels Like Butta Yarn (Pale Grey) 122 yards
Gauge:
6 rows of 4 clusters=4″ x 4″ (CHECK YOUR GAUGE. I crochet looser than many people and you may need to go up a hook size to make gauge)
Abbreviations (US terms):
CH – chain
DC – double crochet
SC – single crochet
BLO – back loops only
SS – slip stitch
SP – Space
SK – skip
Skill Level:
Easy
Pattern Notes:
Hat is worked from the bottom up.
Customize the hat by working an even number of rows to form the brim. I used 58 rows, but my head may be bigger than yours!
Hat measurements:
Width: 11 inches across the brim
Length: 9 inches from brim to top
Pattern
BRIM
Start with G hook.
CH 6
Row 1: SC in the 2nd CH from hook, SC across. CH1, turn.(5)
Row 2-58: SC in the BLO across, CH1, turn (5) (Note: Now is the time to make sure the hat will fit! Measure the circumference of your head with the fabric. If it’s too long, remove some rows. If it’s too short, add more rows. Just end on an even number of rows.)
Do not fasten off.
Slip stitch the two ends together, putting one SS into each loop (5)
CH1, turn, and SC along the top of each row of the brim. Join to first SC with SS. (58)
BODY
Switch to H hook.
Row 1: CH 3, SK first stitch, 2DC, CH 2, 2DC all in one stitch, *SK 3 stitches, make 2DC, CH 2, 2DC all in one stitch*, repeat from* to* all the way around the brim until you reach the starting CH. SS into the 3rd CH of the starting CH.
Row 2-13: CH 3, *2DC, CH 2, 2DC all in the CH 2 space from the previous row*. Repeat from *to* around. SS into the 3rd CH of the starting CH.
(Here you can make the hat a bit slouchier by repeating row 2 for a few more rows before fastening off.)
Fasten off, leaving a long tail for sewing.
Weave long tail in and out of the CH 2 spaces of the final row all the way around.
Pull the end of the yarn to cinch the top shut.
Sew the top closed by sewing through the top stitches in a back and forth pattern.
Cut yarn, weave in ends.
Share your finished project on Instagram with the hashtag #cozyandcheer and tag me in the photo at @CozyandCheer! I love to see makers using my patterns!


Leave a Reply