NOTE: This is a revised version of the pattern. The original had a copying error in it! Many thanks to Linda for pointing it out and letting me know!
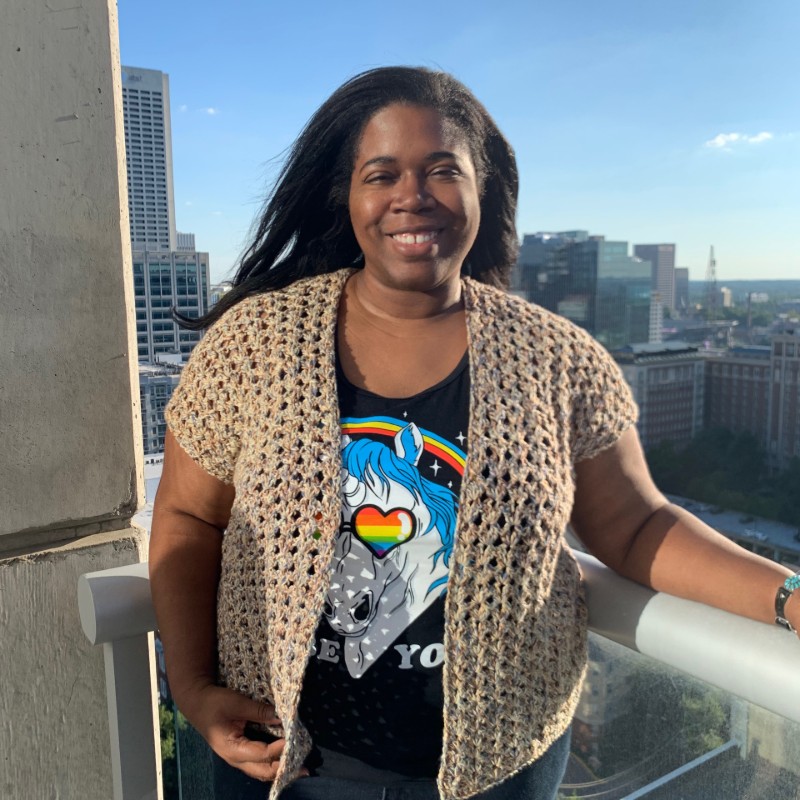
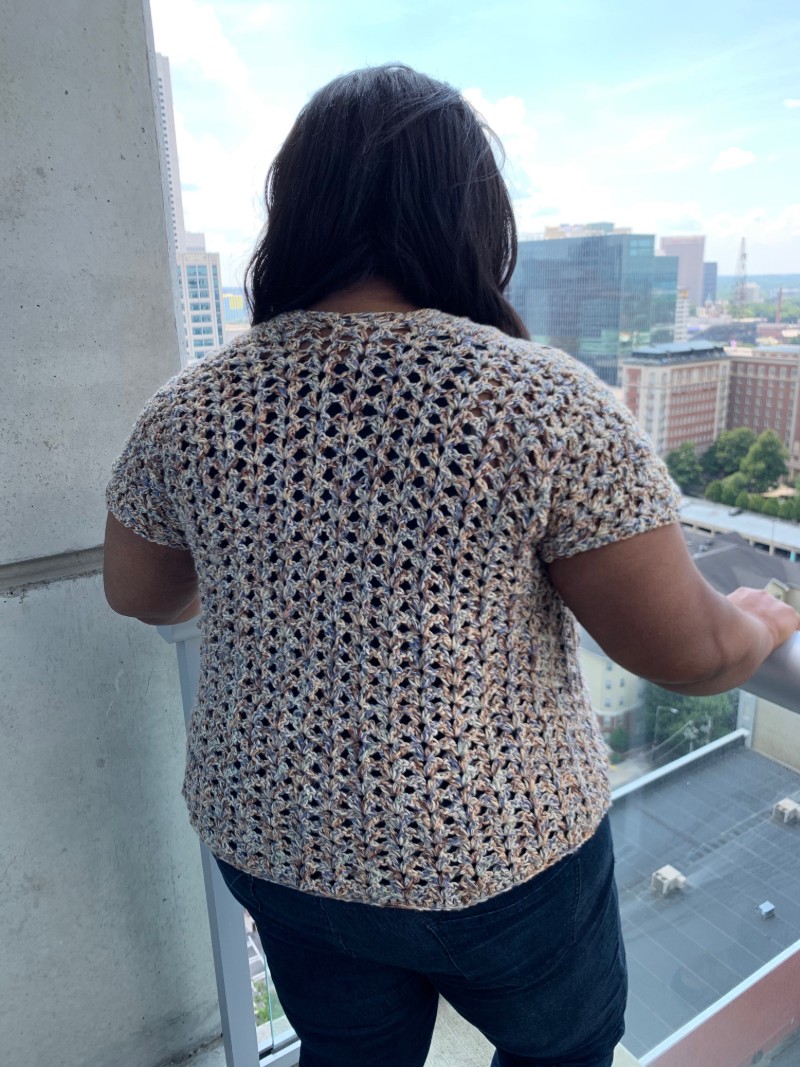
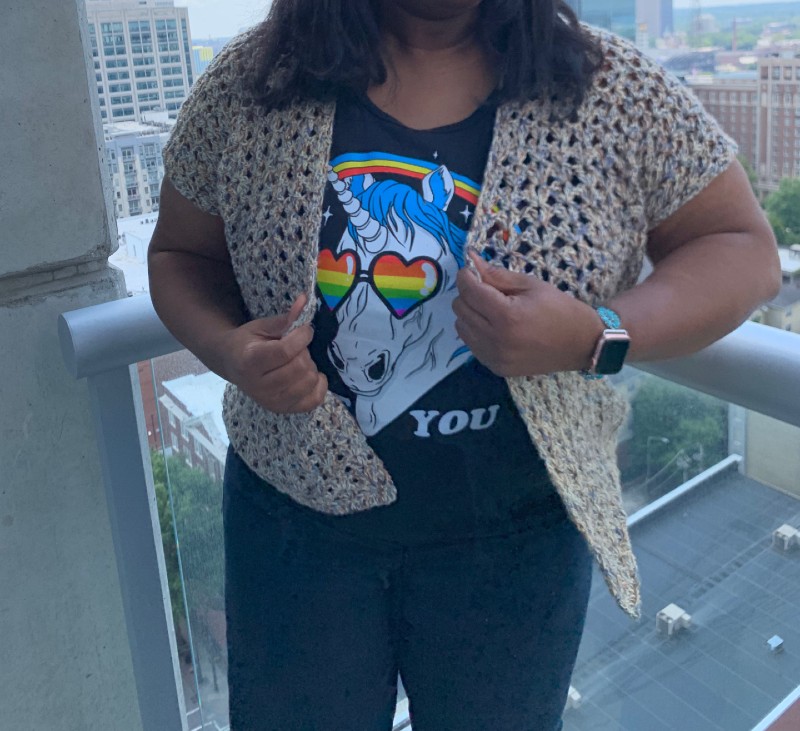
It’s not quite a vest; it’s a short sleeved cardigan! The fit is meant to be oversized with the three panels forming short sleeves. I came up with the shape by just stacking rectangles on top of each other. The cardigan is made from three rectangles: one big, and two small.
I used Lion Brand’s Flikka yarn for this project! Flikka is somewhat finicky and a little splitty, so I’d recommend preparing yourself for that ahead of time or using another cotton or cotton blend yarn. Lion Brand’s Comfy Cotton appears to have a tighter coil so it may not split as easily and it’s a nice cotton/polyester blend.

Disclosure: This post may contain affiliate links that earn me a small commission, at no additional cost to you. I only recommend products I personally use and love, or think my readers will find useful.
PATTERN
- Get the ad-free, size 14 font, printable PDF pattern here.
- PIN this pattern to your Pinterest boards here.
- Add this pattern to your Ravelry queue or library here.
Materials:
-Lion Brand Flikka yarn (196 yds) 3(4,4,5,5,6,6,7,7) skeins
Abbreviations (US terms):
CH – chain
DC – double crochet
SS – slip stitch
SK – skip stitch
Skill Level:
Easy – must be familiar with basic stitches, one special stitch
Gauge:
13 stitches x 7 rows of DC = 4in x 4in (I crochet loosely, so check your gauge!)
Pattern notes:
Designed to have an oversized fit. Pick the size that will give you the baggy fit you’re looking for!
Sizes XS-5X
XS: Length 17in, Bust 34in
S: Length 18in, Bust 38in
M: Length 19in, Bust 42in
L: Length 20in, Bust 46in
XL: Length 21in, Bust 50in
2X: Length 22in, Bust 54in
3X: Length 23in. Bust 58in
4X: Length 24in, Bust 62in
5X: Length 25in, Bust 66in
Model is 5’8 with 52in bust wearing a 2X.
CH3 does not count as a stitch.
Pattern is written in XS with other sizes written in parenthesis.

Pattern
<Back>
CH 59, (65, 72, 78, 85, 91, 98, 104, 111)
Row 1: DC in 3rd CH from hook, DC across, turn.
Row 2: CH 3, SK first stitch, 2DC, CH 2, 2DC all in one stitch, *SK 3 stitches, make 2DC, CH 2, 2DC all in one stitch*, repeat from* to* across.
Row 3: CH 3, *2DC, CH 2, 2DC all in the CH 2 space from the previous row*. Repeat from *to* until end of row. DC in last stitch. Turn.
Repeat Rows 2 and 3 until row 26, (27, 28, 29, 30, 31, 32,33, 34). Fasten off, weave in ends.
<Front Panels> (Make two)
CH 31, (34, 38, 41, 44, 47, 51, 54, 57)
Row 1: DC in 3rd CH from hook, DC across, turn.
Row 2: CH 3, SK first stitch, 2DC, CH 2, 2DC all in one stitch, *SK 3 stitches, make 2DC, CH 2, 2DC all in one stitch*, repeat from* to* across.
Row 3: CH 3, *2DC, CH 2, 2DC all in the CH 2 space from the previous row*. Repeat from *to* until end of row. DC in last stitch. Turn.
Repeat Rows 2 and 3 until row 26, (27, 28, 29, 30, 31, 32,33, 34). Fasten off, weave in ends.
<Assembly>
Lay the back panel flat. Place the two front panels on top of the back panel. Whip stitch or mattress stitch halfway up the sides to form the bottom part of the sleeves. Whip stitch or mattress stitch the two panels to the top of the back panel to form the shoulders and top of the sleeves. Turn inside out, weave in ends.


Share your finished project on Instagram with the hashtag #cozyandcheer and tag me in the photo at @CozyandCheer! I love to see makers using my patterns!

I love this top, so simple but classic and elegant!!! Could be worn with a skirt, over a dress or slacks. I love your design!! Thank you for sharing it with us!!
Agreed!!
I think the cardigan looks good on you.
Thanks!!
Could you please let me know how to make room for the neck opening. The front panels together seem just as wide, if not wider than the back panel. I would really like to make this and I love your patterns. Thanks Much!
Hi! The two front panels are just as wide as the back. When completed, the neck opening folds around the neck like lapels. Hope that helps.
I am not seeing lapels at the neck opening as you have described. Is the photo with the pattern the wrong one?
The cardi shown in the photo is made with this pattern. The “lapels” are not obvious, but that’s how the cardigan’s neck opening drapes. There isn’t a neck opening persay, it’s three rectangles sewn together, as seen in the drawing at the bottom of the page.
I love this this site. It is easy to read. I like it. So glad I found it.