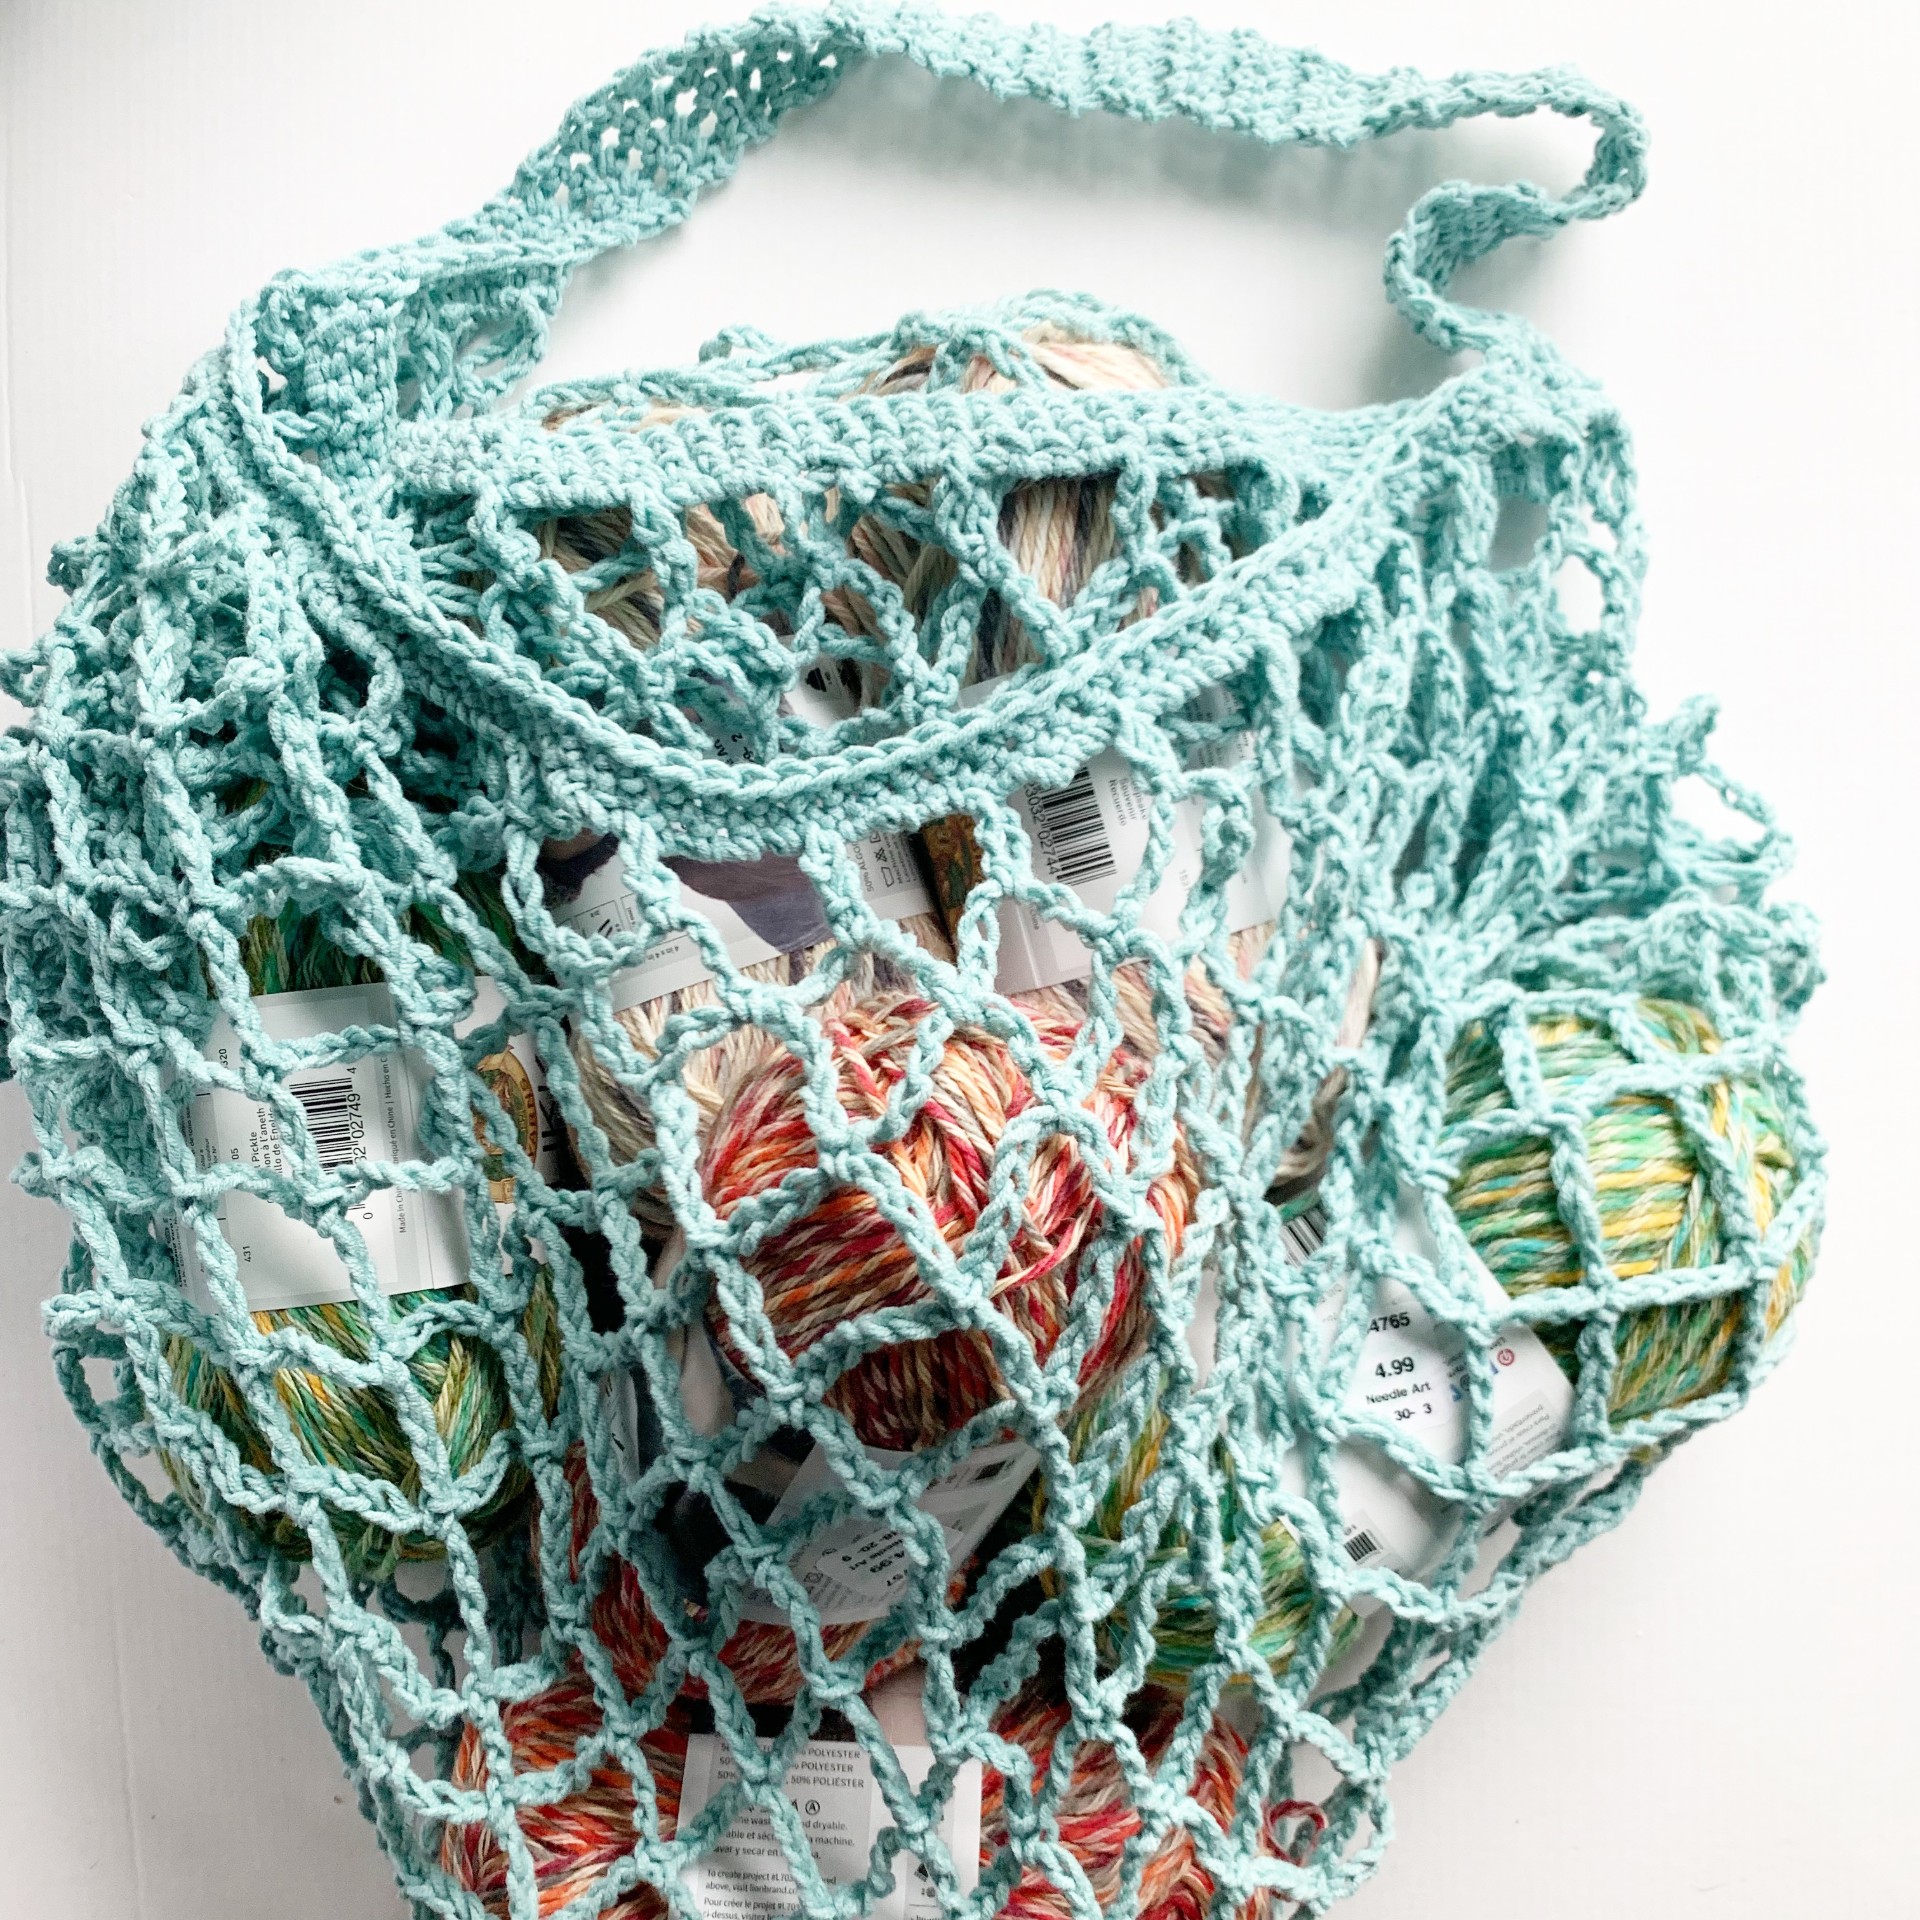
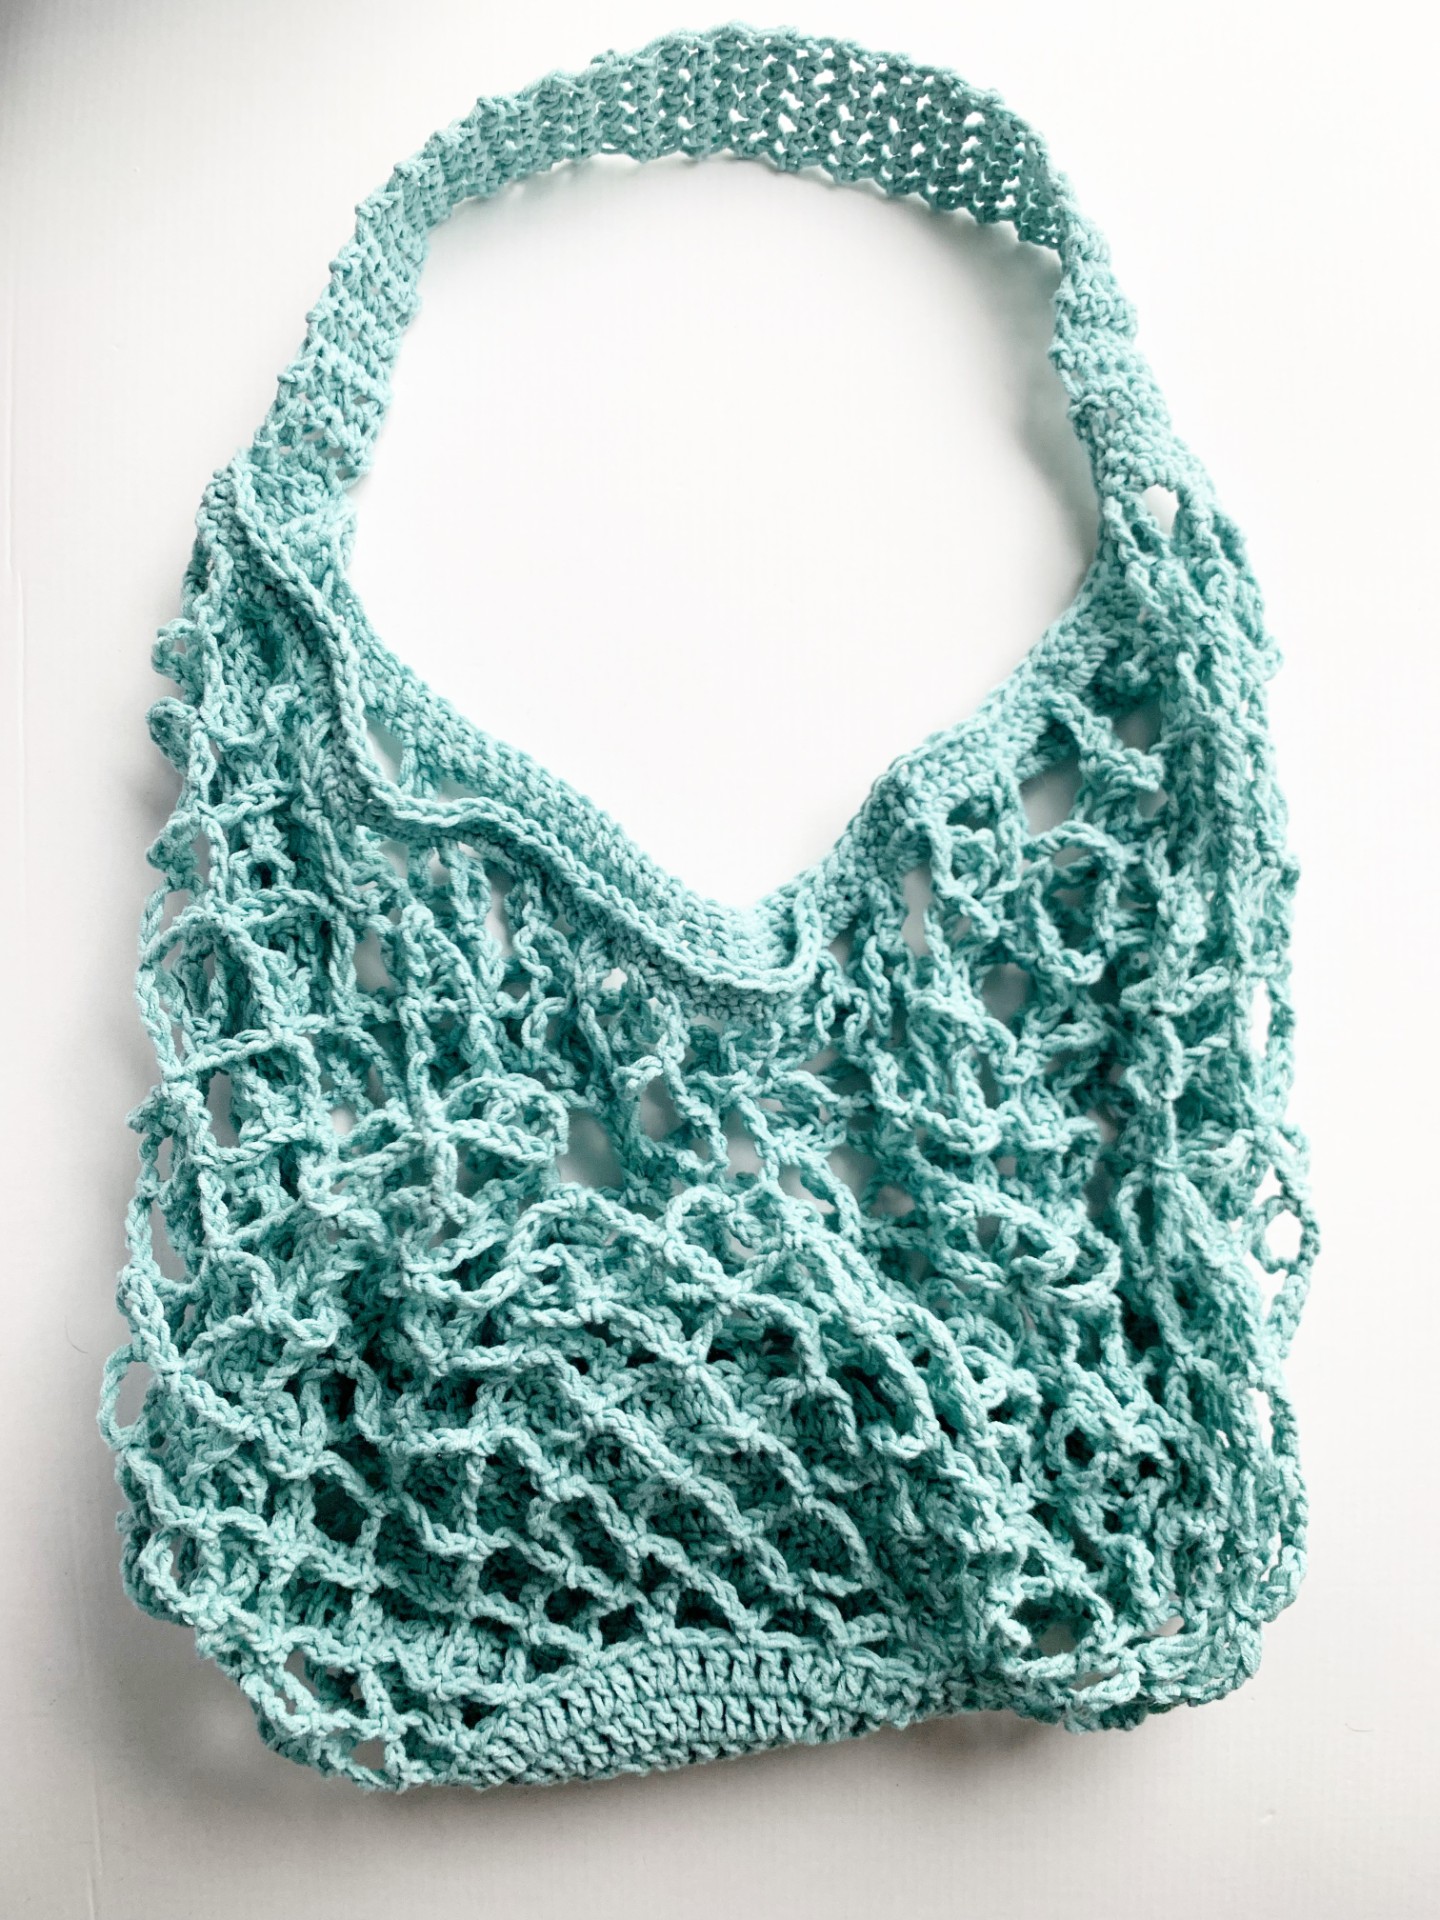
I love farmer’s market season! Fresh produce, all the smells wafting through the cool Spring and Summer morning air – it doesn’t get much better than that. There’s a farmer’s market at Piedmont Park on Saturday mornings, so I like to rush out and pick up produce and locally sourced eggs and meat for the week’s meals. It’s also just fun to people watch! This Decatur market bag will make carrying all of my wares a little easier and besides, it’s much more durable and stylish than a plain brown paper sack.

The Inspiration & Design
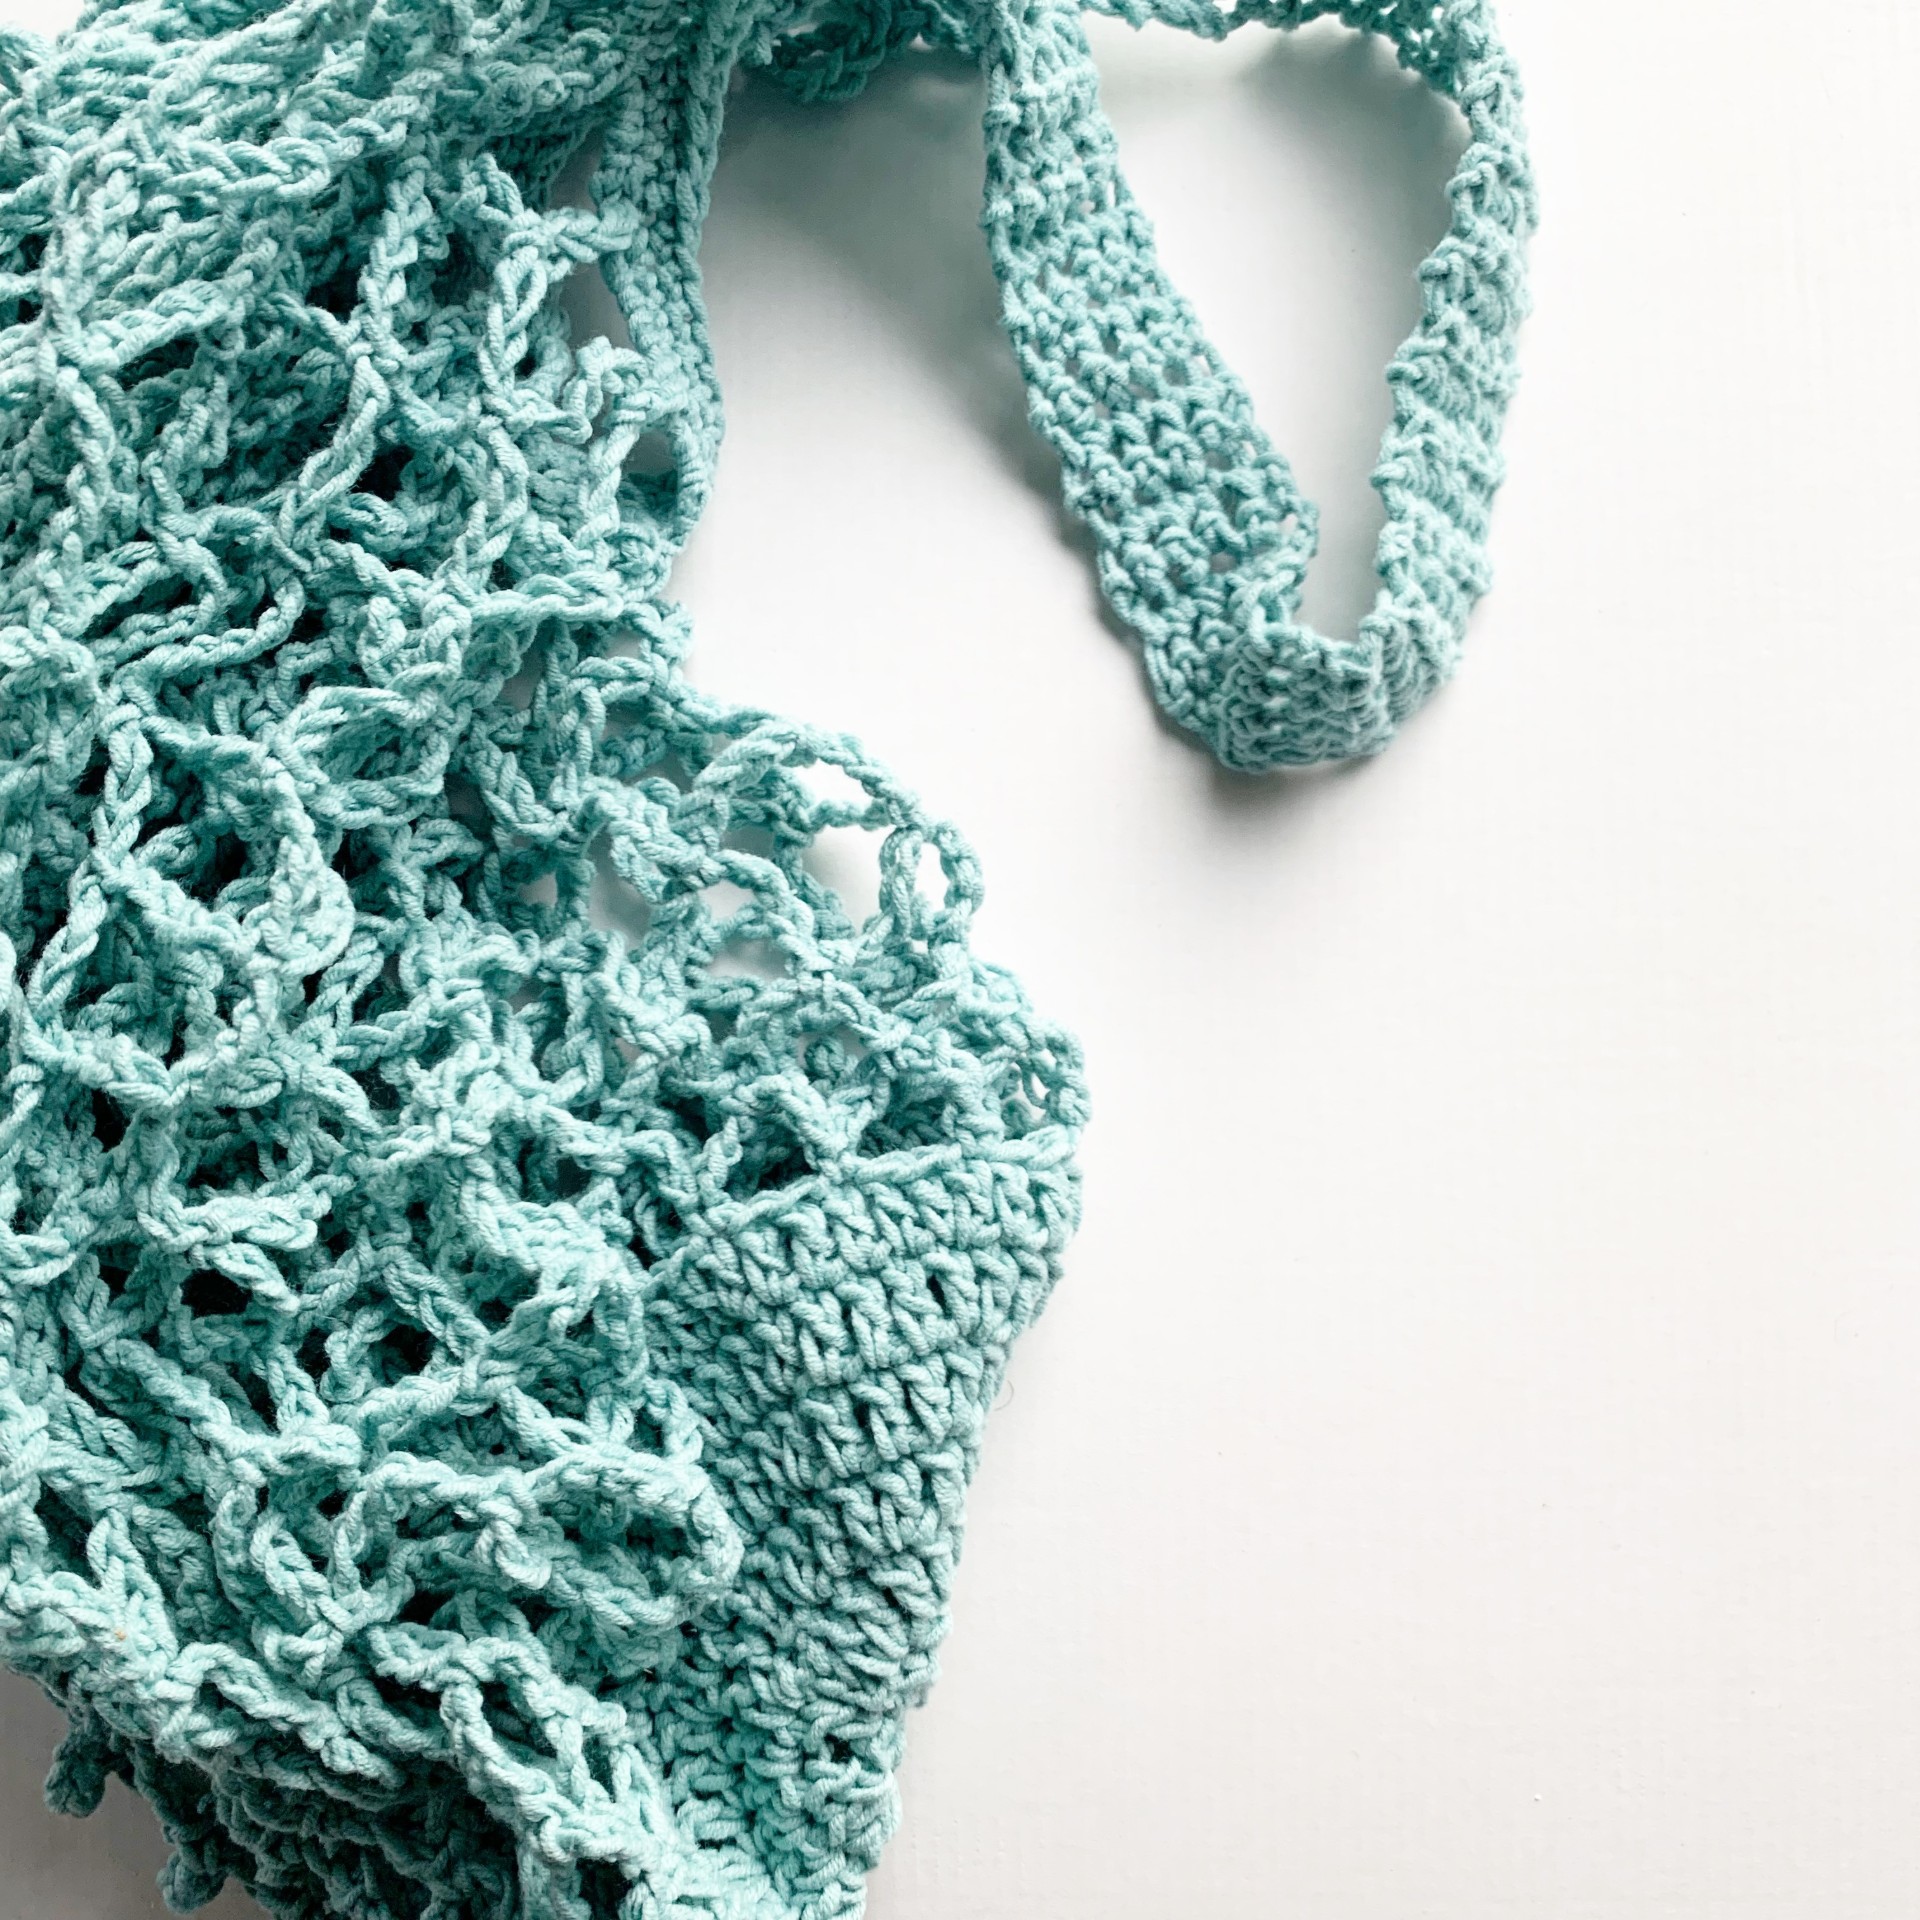
I wanted to make a basic market bag that has a modern design. While in Paris a couple of years ago, my husband and I accidentally took a market bag home from the store (our great international caper). Rather than using that classic design, I decided to make the handle a bit more like a purse’s shoulder strap, since that’s the way I prefer to carry my market bag at the farmer’s market. I think it turned out exactly the way I envisioned it – still classically French in the body, but with a modern touch. The bag is named for the first farmer’s market I ever visited, the Decatur Farmer’s Market.

The Yarn
I’m re-using yarn again – aren’t you proud of me? I’m being responsible. It helps that this yarn is so easy to work with. It was a dream creating the Ruth Crop Top with it, and it just made sense to make a market bag out of a cotton blend. You don’t have to use Caron Cotton Cakes – a 100% cotton yarn will work great with this pattern, or any other cotton blend. Caron Cotton Cakes is 60% cotton and 40% acrylic, so it feels a lot like some of my favorite tshirts. Each strand is a bit tubular like a tshirt yarn, and it doesn’t split easily while crocheting with it!

Disclosure: This post may contain affiliate links that earn me a small commission, at no additional cost to you. I only recommend products I personally use and love, or think my readers will find useful.
PATTERN
- Get the ad-free, size 14 font, printable PDF pattern here.
- PIN this pattern to your Pinterest boards here.
- Add this pattern to your Ravelry queue or library here.
Materials:
-Caron Cotton Cakes (Aqua Breeze), 410 yards
Gauge:
11 stitches x 6 rows of DC = 4in x 4in
Abbreviations (US terms):
CH – chain
DC – double crochet
TR – treble crochet
SC – single crochet
SS – slip stitch
SP – Space
SK – skip
Skill Level:
Easy – Beginner
Pattern Notes:
CH4 counts as a stitch on the bottom section.
Pattern
BOTTOM
CH 8, join to form a ring
Row 1: CH 4, DC 12, SS in 3rd chain of CH4
Row 2: CH4, DC in same stitch, 2DC in each stitch around, SS in 3rd chain of CH4
Row 3: CH4, *2 DC in next stitch, 1 DC in next*, repeat from * to *, SS in 3rd chain of CH4
Row 4: CH4, DC in next stitch, 2DC in next stitch, *one DC in next two stitches, 2DC in next stitch*, repeat from * to *, SS in 3rd chain of CH4
Row 5: CH4, DC in each of next two stitches, 2DC in next stitch, *DC in next three stitches, 2DC in next stitch*, repeat from * to *, SS in 3rd chain of CH4
Row 6: CH4, DC in each of next three stitches, 2DC in next stitch, *DC in next 4 stitches, 2DC in next stitch*, repeat from *to*, SS in 3rd chain of CH4
SIDES
Row 7: CH1, SC in first stitch, *CH7, SK next 2 stitches, SC in next stitch*, repeat from *to* around to last two stitches. To join, CH5, SK last two stitches, DC in first SC.
Row 8: CH1, SC around joining DC, *CH7, SC in next CH SP*, repeat from *to* around. To join, CH 5, DC in first SC.
Row 9: CH1, SC around the joining DC, *CH9, SC in next CH SP*, repeat from *to* around. To join, CH5, TR in first SC.
Row 10-23: CH1, SC around joining TR, *CH9, SC in next CH SP*, repeat from *to* around. To join, CH5, TR in first SC.
Row 24: CH1, SC around joining TR, CH9, *SC in next CH SP, CH 9*, repeat from *to* around, join with SS in first SC.
Row 25: SS in first CH SP, CH1, 4 SC in the same SP and in each CH SP around, join (144 SC).
Row 25-27: CH1, SC in each stitch around.
HANDLE
Row 28: SC in next 5 stitches, CH1, turn
Row 29-:SC in next 5 stitches, CH1, turn. Repeat until 15 inches long. Fasten off, leaving a long tail. Use long tail and yarn needle to sew handle onto the opposite side of the bag rim. Sew securely, fasten off, weave in ends.


Hi there! I could have sworn I’ve been to this website before but after checking through some of the post I realized it’s new to me. Anyhow, I’m definitely happy I found it and I’ll be bookmarking and checking back frequently!